Published: July 29, 2026
Last Updated: July 29, 2026
DIY home security: installing sensors, cameras and alarms yourself. No professional monitoring (or installer) involved. You watch it yourself via app, then pay for the optional monitoring plan
Don’t bother with the electrician. Don’t bother with the service contract either. With most systems these days wirelessly powered by batteries, a lot of them take less than an hour from unboxing to alarm live and ready. This guide sits in our bigger Smart Security center, and it covers the part most articles race past: real preparation, the real installation, what rental changes, and what to do when something inevitably stops working right.
Quick answer: plan it, install it, troubleshoot it yourself. No contractor, no monitoring contract required.
How to plan your DIY home security system before buying anything
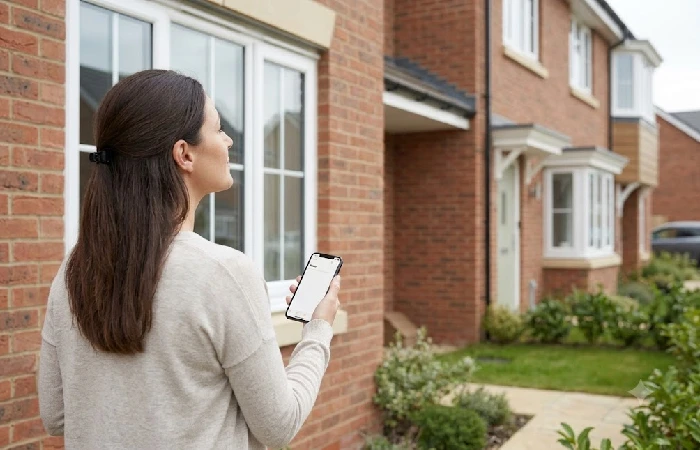
Most DIY installations have holes in coverage for an obvious reason: You’ve bought the kit before you’ve walked the house. Begin outside. Label every door and window you could reasonably access from the outside, front door first, then work your way clockwise around the house. Ignore anything upstairs that you would need a ladder for but don’t skip the garage service door and also don’t forget to label any exterior doors onto a raised deck.
Here’s a concern: it is a bigger concern than it used to be. As the FBI’s figures show, burglary and property crimes are on the rise as the increase in occupancy during the day and the existence of packages delivered for sale have brought robbery activities that did not exist ten years back. That’s the figure that would tell you how many sensors you need to buy, not what the manufacturer provides with a kit from the shop.
Self-monitored or professionally monitored? Self-monitoring is only alerts to your phone, all control, and typically cheap or free. Professional monitoring costs more, may be contracted in, but a verified alarm is sent to a center capable of dispatching police or fire. There is no always right answer, it depends whether you are dependable enough to see and take action on an alert yourself.
What you need for a self-install security system
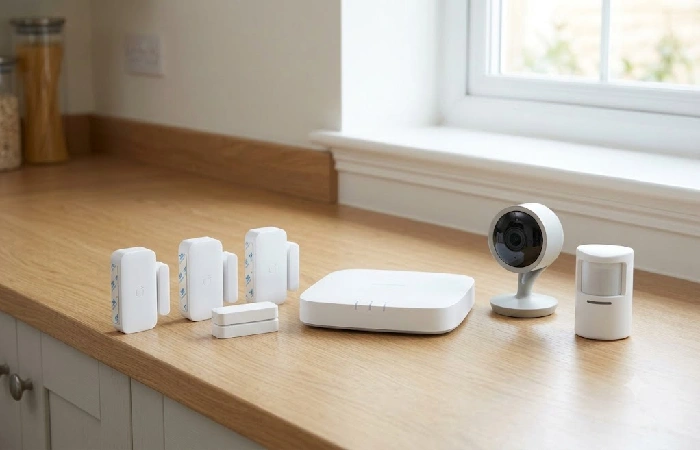
A simple kit might include four items: sensors on doors and windows, one or two motion detectors (in the rooms where people actually walk). They also have at least one camera on your front door or other main entry that communicates with a hub that connects to your phone. The entire kits are priced in the low hundreds. Cameras on their own might run from $40 to $250 depending on resolution, solar powered charging, floodlights etc.
Step-by-step DIY security camera setup
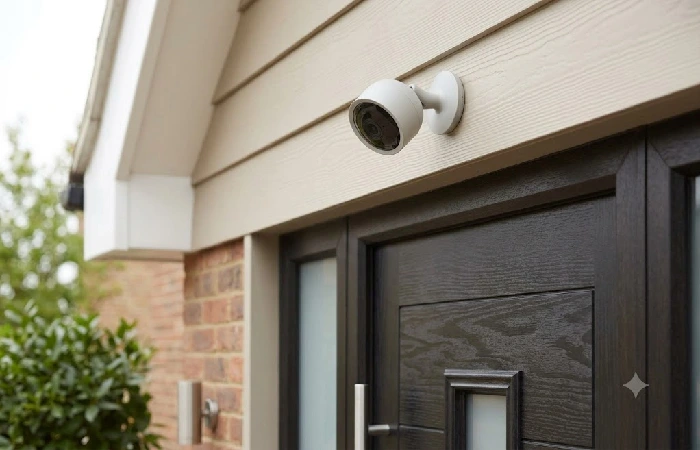
Use your initial entry point list as your base, not the ones that look promising. Front door first, back door second, garage door third, and second-story or basement windows fourth if a stranger could see into them from the street.
Mount cam so they’re pretty high, about 8 – 10 ft off the ground, and pointing downward a few degrees. Tall enough so some two bit thief isn’t going to just grab it, low enough to pick up someone’s mug shot. Test the outdoor wireless signal using the app before you mount the camera for good. The absolute number one reason a setup fails on day one is an anemic outdoor Wi-Fi signal.
Once paired, establish motion zones to ignore the street, sidewalk and any tree being moved by the wind. Then walk test it. Approach it just like a typical visitor would, make sure it activates, and make sure it remains silent as a passing car.
Sensors come last. You can use the cameras to confirm if a zone really has Wi-Fi before installing the sensors there, and you can move a sensor much more easily than a camera bracket if the spot turns out to be dead.
Affordable home security options if you’re on a budget
You don’t have to buy a complete camera-and-sensor package to substantially reduce your risk. Cheap, loud, battery-powered window and door alarms that stick-on cost less than $5 each. One well-placed entry camera plus two or three door sensors covers the highest-risk points in most homes for under $150 total. You can always add monitoring later when you have a better idea of which alerts are actually useful.
Renters home security ideas that won’t cost your deposit
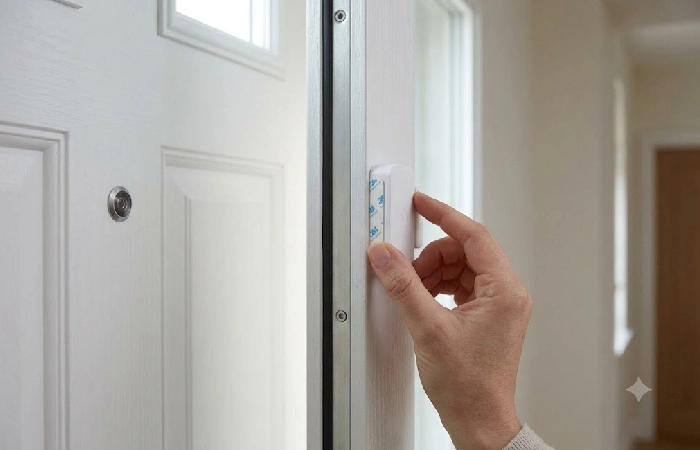
Leasing: shifts the parameters. No holes in the walls, no permanently installed wiring, what you put up has to come off without a trace when you vacate. Clamps and adhesive mounts are solutions I prefer to drilled-in hardware. Indoor some of the best placements are the ones that won’t be outside. Those have to be approved by the landlord. Any lease will specify limits on camera placement, locks, and shared public spaces.
For move out, peel adhesive strips slowly. It’s not the adhesive that damages paint; it’s doing it too quickly off the adhesive that causes damage.
Home security without monitoring: what it can and can’t do
An unmonitored system still does a lot though. It lets you know immediately that a door’s been opened, it logs everyone who comes near, and the local siren is loud enough to disrupt most passersby. What it won’t do is guarantee anyone responds if you miss the alert, and it can’t call law enforcement or fire on its own. If you want to add monitored audible alarm response down the line, the FTC’s advice on home alarm systems recommends checking into your municipality or county’s alarm permit regulations because quite a few cities have daily fines for multiple false alarms. If you’re available, generally accessible and just looking for a little knowledge and some discouragement, self-monitoring alone is usually good enough.
Common DIY security setup problems and fixes
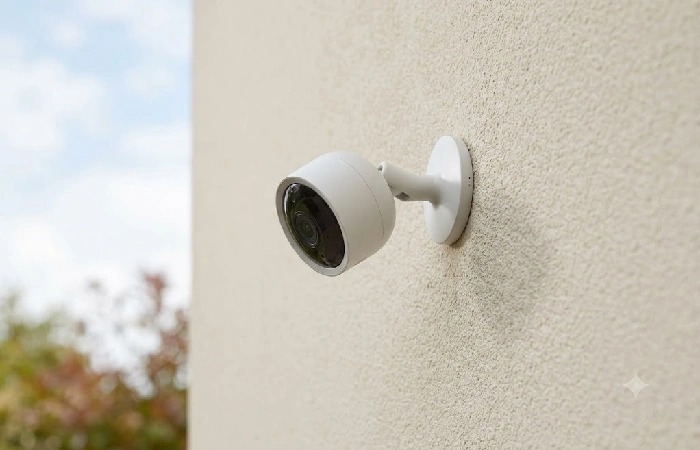
Nighttime grainy footage is normally just caused by the camera’s own IR light reflected into the sensor off a wall nearby. If you point it away from close objects, it is fine.
False alarm going all the time? Motion sensitivity set too high. Adjust the zone in the app so it no longer detects the street, or a bush blowing in the wind.
A camera that is constantly disconnecting from the network isn’t malfunctioning, it is simply located in an area the Wi-Fi doesn’t reach effectively. Simply change the position of the router, introduce an extender or reposition the camera nearer to the source.
And if a number of cameras go into the same socket, you can easily overload that circuit. It makes sense to ‘pay’ the extra for solar and battery ones once you are beyond the first couple of cameras and have to share your power supply.
FAQ
1. Is DIY home security as good as professional installation?
For most single-family homes and apartments, yes. The system equipment is simply variations on the same technology. What really changes is who is doing the installation, and who is responsible if there is a malfunction down the road.
2. Do I need a permit for a DIY home security system?
Not necessarily for mounting the sensor/camera units. What the permits are used for is to activate the monitored audible alarm response in most jurisdictions so be sure to check your local regulations before doing so.
3. Can I install a DIY security system in an apartment?
Yes, adhesive cameras, free-standing or shelf, portables, door and window alarms, none of it needs to be drilled. Check your lease first for anything about cameras or outside mounting.
4. Do DIY security systems work without Wi-Fi?
Standard basic sensors with local siren, sure. If you want app notifications, remote video, or any of the plans that provide constant monitoring, it all takes an internet connection, with cellular backup in case your home Wi-Fi fails.
5. What’s the difference between self-monitoring and professional monitoring?
With self-monitoring, the alerts and the response are on you. With professional monitoring, verified alarms are sent to a central station that can dispatch police or fire whether or not you ever see the alert yourself.